How to install the w10328463 solenoid coil?
Hey there! As a supplier of the W10328463 solenoid coil, I'm here to walk you through the process of installing this nifty little component. Whether you're a DIY enthusiast or a professional mechanic, getting the installation right is crucial for the proper functioning of your equipment.
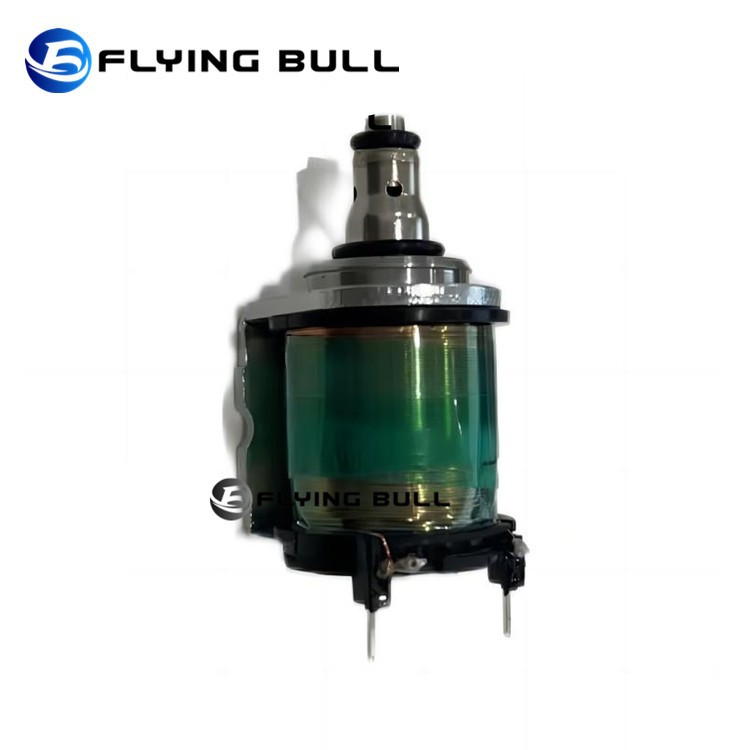
First off, let's talk a bit about what the W10328463 solenoid coil is and where it's commonly used. This solenoid coil is a key part in many auto and electrical systems. It's often found in things like Auto Parts Solenoid Valve Coil, and it plays a vital role in controlling the flow of fluids or gases in various systems. It's also used in Special Equipment Vehicle Solenoid Valve Coil applications, where precise control is super important.
Before you start the installation, you'll need to gather a few tools. You'll typically need a set of wrenches, a screwdriver (both flathead and Phillips, depending on your setup), and maybe some pliers. It's also a good idea to have a multimeter on hand to check the electrical connections later on.
Alright, let's get into the actual installation steps.
Step 1: Safety First
Before you do anything, make sure you turn off the power supply to the equipment where you'll be installing the solenoid coil. This is a no - brainer, but it's the most important step. You don't want to get zapped while you're working!
Step 2: Locate the Old Solenoid Coil
Find where the old solenoid coil is installed. In most cases, it'll be close to the valve it controls. It might be attached to a bracket or directly to the valve body. Take a good look at how it's connected and make a mental note (or take a picture if you're not sure) of the wiring and mounting.

Step 3: Remove the Old Solenoid Coil
Start by disconnecting the electrical wires from the old solenoid coil. Be careful not to tug too hard on the wires, as you don't want to damage them. Use your pliers or a small wrench to loosen any nuts or bolts that are holding the coil in place. Once the fasteners are loose, gently pull the old coil away from its mounting point.
Step 4: Inspect the New W10328463 Solenoid Coil
Take a look at the W10328463 Solenoid Coil you've got. Make sure it's in good condition, with no visible damage to the coil or the connector. Check the specifications to make sure it matches the requirements of your equipment.
Step 5: Install the New Solenoid Coil
Place the new solenoid coil in the same position as the old one. Line up the holes for the mounting bolts or nuts. Carefully thread the bolts through the holes and start tightening them, but don't go overboard. You just want them snug enough to hold the coil in place.
Step 6: Connect the Electrical Wires
Now it's time to connect the electrical wires to the new solenoid coil. Match the wires to the correct terminals on the coil. Usually, there'll be a positive and a negative terminal, so make sure you connect them correctly. You can use a bit of electrical tape to secure the connections and prevent any short - circuits.
Step 7: Double - Check Everything
Once you've connected the wires and tightened the mounting bolts, take a step back and double - check your work. Make sure the coil is securely mounted, the wires are properly connected, and there are no loose parts.
Step 8: Test the Solenoid Coil
Turn the power supply back on. Use your multimeter to check if there's power going to the solenoid coil. You should also be able to hear a click sound when the coil is energized, which means it's working properly. If you don't hear the click or if the multimeter shows no power, go back and check your connections.
Troubleshooting Tips
If you run into any problems during the installation or testing, here are a few things to check:
- Loose Connections: Make sure all the electrical connections are tight and there are no loose wires.
- Wrong Wiring: Double - check that you've connected the wires to the correct terminals.
- Damaged Coil: If the coil doesn't seem to be working, it might be damaged. You can use the multimeter to check the resistance of the coil. If the resistance is way off from the specifications, you might need to get a new coil.
In conclusion, installing the W10328463 solenoid coil isn't too difficult if you follow these steps. But if you're still not sure or if you run into any major issues, it might be a good idea to consult a professional.
If you're in the market for high - quality W10328463 solenoid coils or have any questions about our products, feel free to reach out for a purchase negotiation. We're here to help you get the right parts for your needs.
References
- General knowledge of solenoid coil installation from years of working in the industry.
- Manufacturer's guidelines for the W10328463 solenoid coil.