


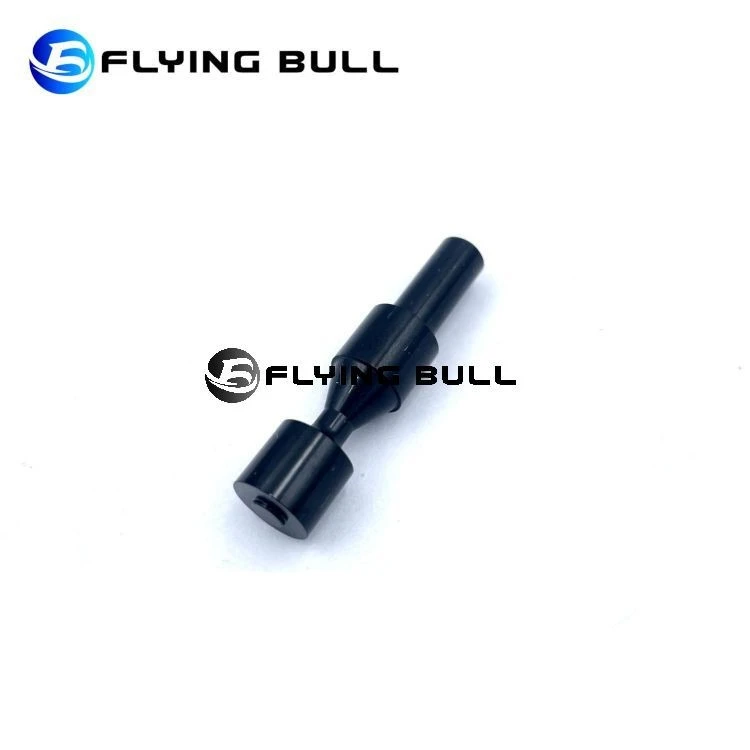

Repair Solenoid Kit
Step-by-Step Repair Guide for the Repair Solenoid Kit 84741-10K Solenoid valves fail. Coils burn out. Seals leak. Plungers stick. Instead of replacing the entire valve, you can rebuild it using a repair solenoid kit. Flying Bull offers the repair solenoid kit 84741-10K – a collection of replacement parts designed for servicing solenoid valves in construction machinery and oil-based hydraulic systems. This 84741-10K solenoid kit is intended for repairing common failure points in solenoid valves operating under ordinary pressure. The kit is 100% brand new, manufactured in Zhejiang, China, and backed by a 1‑year warranty. Delivery takes 5–7 working days. Proper service procedure for the repair solenoid kit 84741-10K: Preparation before maintenance: Power isolation and fluid shutdown – Before starting any repair work, disconnect electrical power to the solenoid valve. Also shut off the associated fluid flow and relieve system pressure. This step prevents accidental startup, electric shock, and high-pressure oil spray. Check the fault – Perform a preliminary diagnosis based on symptoms: solenoid valve does not operate, coil burned, internal parts stuck, or air/oil leakage around the valve. Maintenance procedure: Step 1: Remove the solenoid valve – Carefully take the valve off the machine following the manufacturer’s instructions. Remove the coil, housing, and all fastening screws or bolts. Keep track of each part’s location. Step 2: Component identification and inspection – Examine internal parts such as the plunger (moving core), seals, O-rings, and diaphragm. Identify which parts are damaged, worn, corroded, or misaligned. Common failures include torn seals, flattened O-rings, scored plungers, or burnt coil windings. Step 3: Repair kit selection – Select the repair solenoid kit 84741-10K that matches your solenoid valve model. Confirm that the kit contains the specific replacement parts you identified as faulty. Step 4: Component replacement – Replace each faulty component with the corresponding new part from the kit. For example, if a seal is cracked or flattened, remove the old seal and install a new one from the kit. If the plunger is scored, replace it. Use clean tools and a clean workspace to avoid introducing dirt. Step 5: Reassemble – Carefully put the solenoid valve back together following the manufacturer’s instructions. Ensure all parts are correctly aligned. Tighten screws and bolts to the specified torque. Do not overtighten – that can crack housings or crush seals. Step 6: Test and verification – Restore power and fluid flow. Perform a complete test of the repaired solenoid valve. Check for proper operation: does the valve open and close when energized and de-energized? Are there any external leaks? Verify the valve holds pressure when closed. For equipment owners and repair shops, the repair solenoid kit 84741-10K offers a cost-effective way to restore failed valves. Instead of buying a complete new valve, you replace only the worn parts. Keep one in your inventory to reduce downtime. Choose Flying Bull for reliable repair kits.
Product Introduction
Products Description
|
OE NO.: 84741-10K |
Media: Oil |
|
Warranty: 1 YEAR |
Condition: New, 100% Brand-new |
|
Place of Origin: Zhejiang, China |
Item: Solenoid |
|
Brand Name: FLYING BULL |
Quality: High-Quality |
|
Delivery: 5-7 Working Days |
Pressure: Ordinary Pressure |
Solenoid Valve Kit 84741-10K Construction machinery parts
When servicing solenoid valve kits 84741-10K, refer to the following steps and considerations to ensure a safe and effective repair process:
Preparation before maintenance
1. Power isolation and fluid shutdown:
Before performing any repair operation, be sure to disconnect the power supply of the solenoid valve 84741-10K and turn off the associated fluid flow to prevent accidental start-up or leakage.
2. Check the fault:
Perform a preliminary check according to the fault of the solenoid valve. Common faults include solenoid valve does not operate, coil burned, stuck, air leakage and so on.
Maintenance procedure
1. Remove the solenoid valve:
Carefully remove the solenoid valve according to the manufacturer's instructions. Remove the coil, housing, and any fastening screws or bolts.
2. Component identification and inspection:
Check valve components, such as plungers, seals, O-rings, or diaphragms, to identify the faulty parts that need to be replaced.Check the parts for damage, wear, or misalignment.
3. Repair kit selection:
Select a service kit that matches the solenoid valve model. Make sure the kit contains the necessary replacement parts for the identified faulty parts.
4. Component replacement:
Replace the faulty component with the corresponding component in the maintenance kit. For example, if a seal is damaged, replace it with a new seal in the kit.
5. Reassemble:
Carefully reassemble the solenoid valve according to the manufacturer's instructions and make sure all parts are properly aligned and tightened.
6. Test and verification:
Restore power and fluid flow (if applicable) and perform a full test to verify the functionality of the repaired solenoid valve 84741-10K.


Company Introduction


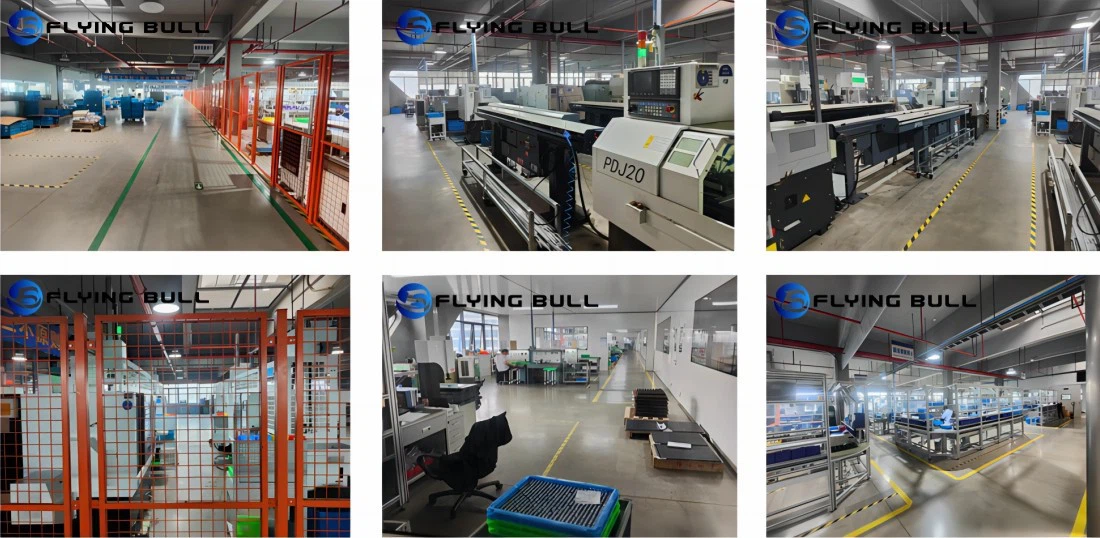

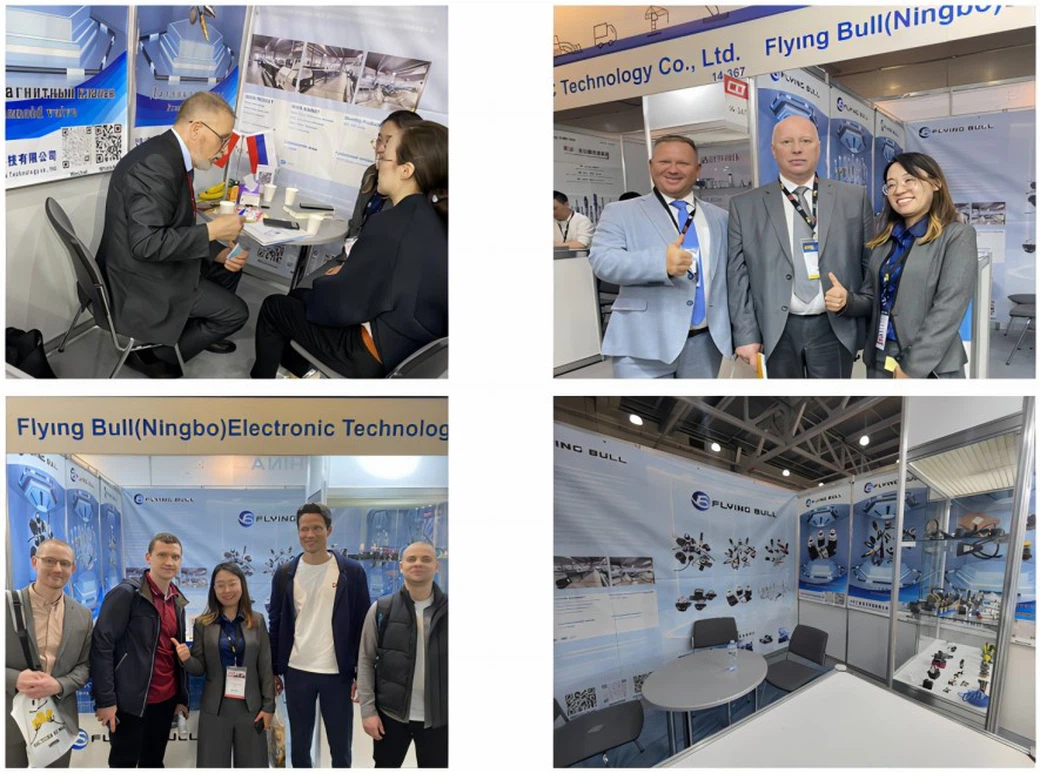
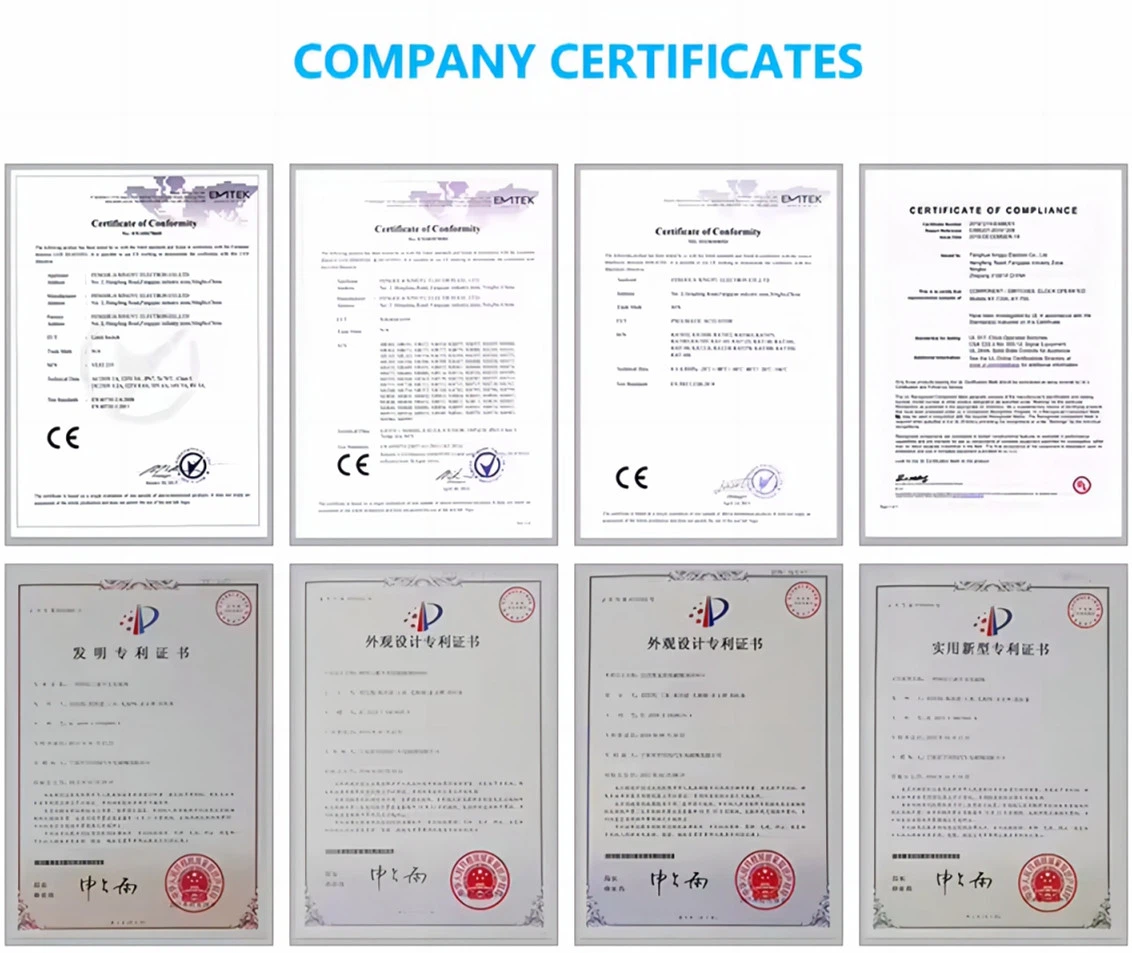
Frequently Asked Questions (FAQ)
1. What is the OE number and purpose of this repair solenoid kit?
The OE number is 84741-10K. This repair solenoid kit is used to service failed solenoid valves in construction machinery and oil-based hydraulic systems. It contains replacement parts for common failure points such as seals, plungers, and O-rings.
2. What should I do before starting repair work on a solenoid valve?
Two critical safety steps: disconnect electrical power to the solenoid and shut off fluid flow (and relieve system pressure). Failure to do these can result in electric shock, accidental valve actuation, or high-pressure oil spray when you open the valve.
3. How do I know if my solenoid valve needs repair instead of full replacement?
Common faults that a repair kit can fix include: the solenoid does not operate when energized, the coil is burned (visible damage or open circuit), the plunger is stuck (valve does not shift), or there is air/oil leakage around seals. If the valve body itself is cracked or the bore is severely worn, replace the whole valve instead.
4. What parts are typically inspected and replaced using the 84741-10K kit?
You will inspect and likely replace: plunger (moving core), seals and O-rings (prevent leaks), and diaphragm (if applicable). The kit may also include springs and small hardware. Always compare the old parts to the new ones in the kit to confirm you have the correct components.
5. How do I test the repaired solenoid valve before putting it back into service?
After reassembly, restore power and fluid flow. Energize and de-energize the solenoid several times. Listen for a distinct click each time. Check for external leaks around the housing and port connections. If possible, verify that the valve opens and closes fully using a pressure gauge or flow meter.
6. Can I use the repair solenoid kit 84741-10K on any solenoid valve?
No. This kit is designed for specific solenoid valve models used in construction machinery. Kits are model-specific. Using the wrong kit will result in poor fit, leaks, or valve failure. Always verify that your solenoid valve matches the 84741-10K specification before ordering.
7. Does the repair solenoid kit 84741-10K come with a warranty?
Yes. Flying Bull provides a 1‑year warranty against manufacturing defects in the kit components. Damage caused by incorrect installation, mismatched parts, or contaminated systems is not covered. Always clean the valve body thoroughly before installing new parts.
Hot Tags: repair solenoid kit, China repair solenoid kit manufacturers, suppliers, factory, solenoid valve repair kit, valve spool, repair solenoid kit
You Might Also Like


Send Inquiry
